Getting started: your first mail through MailBridge
From sender domain to the first delivered mail: every setup step, with screenshots.
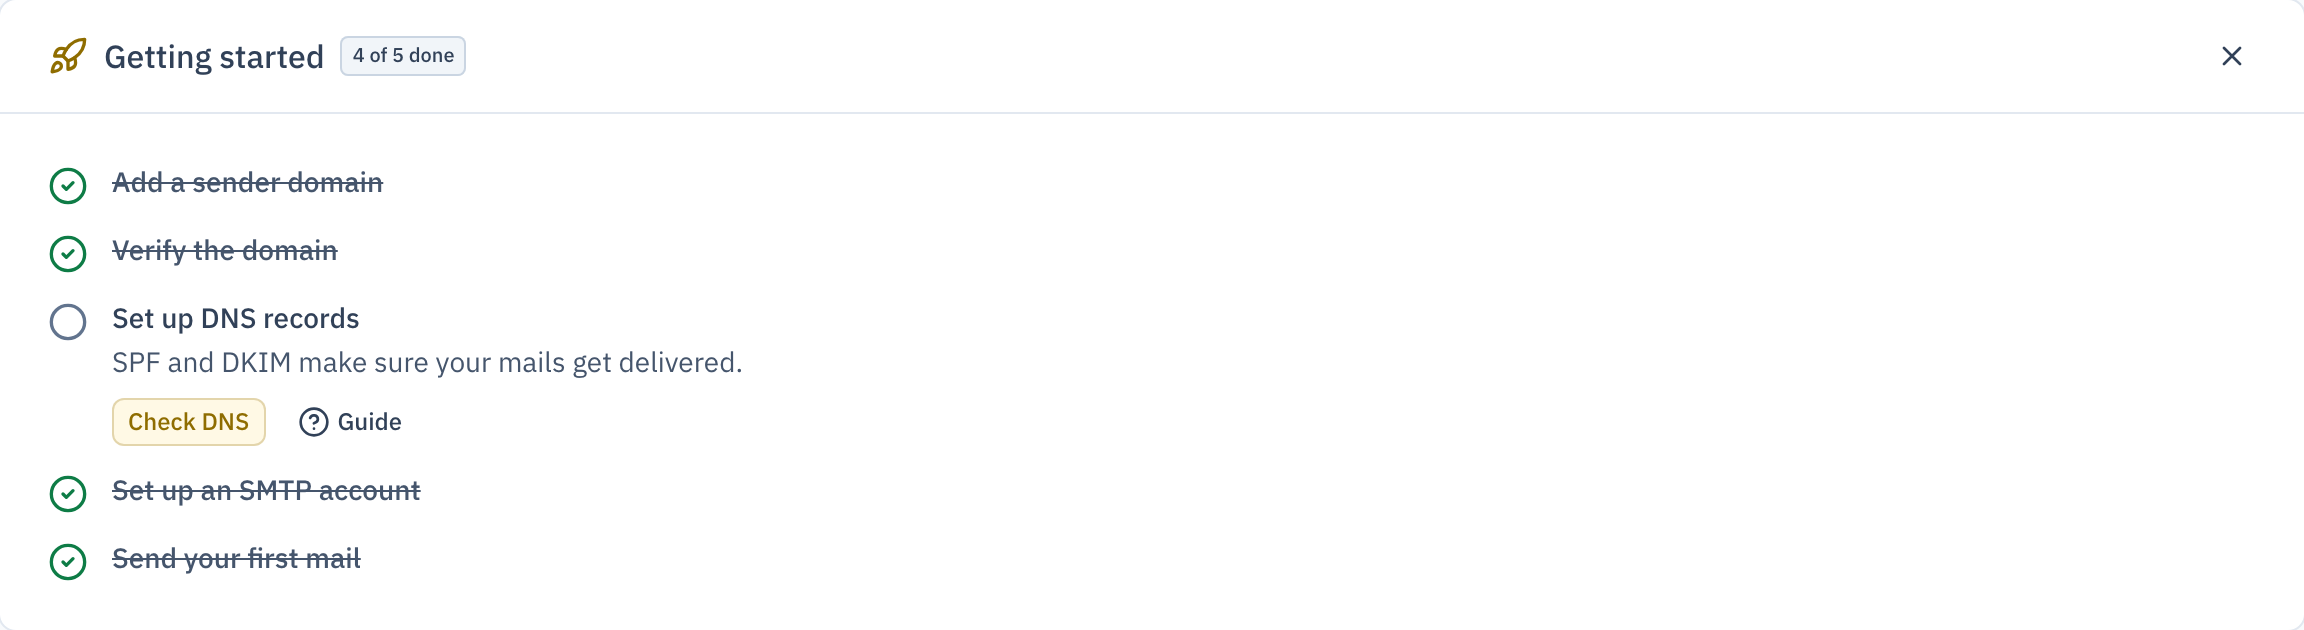
After registration, four things are still missing before your mails flow through MailBridge: a verified sender domain, the matching DNS records, an SMTP account and the credentials in your mail client. The dashboard shows these steps as a checklist and ticks them off automatically as you complete them.
As an agency you create a client first, before the domain, see MailBridge for agencies.
Step 1: Add a sender domain
The sender domain is the domain behind the @ of your sender address, so company.com for billing@company.com.
- Open Domains & DNS and click Add domain.
- Enter the domain (no
www, no@). - Save. The domain appears as a card in the overview.
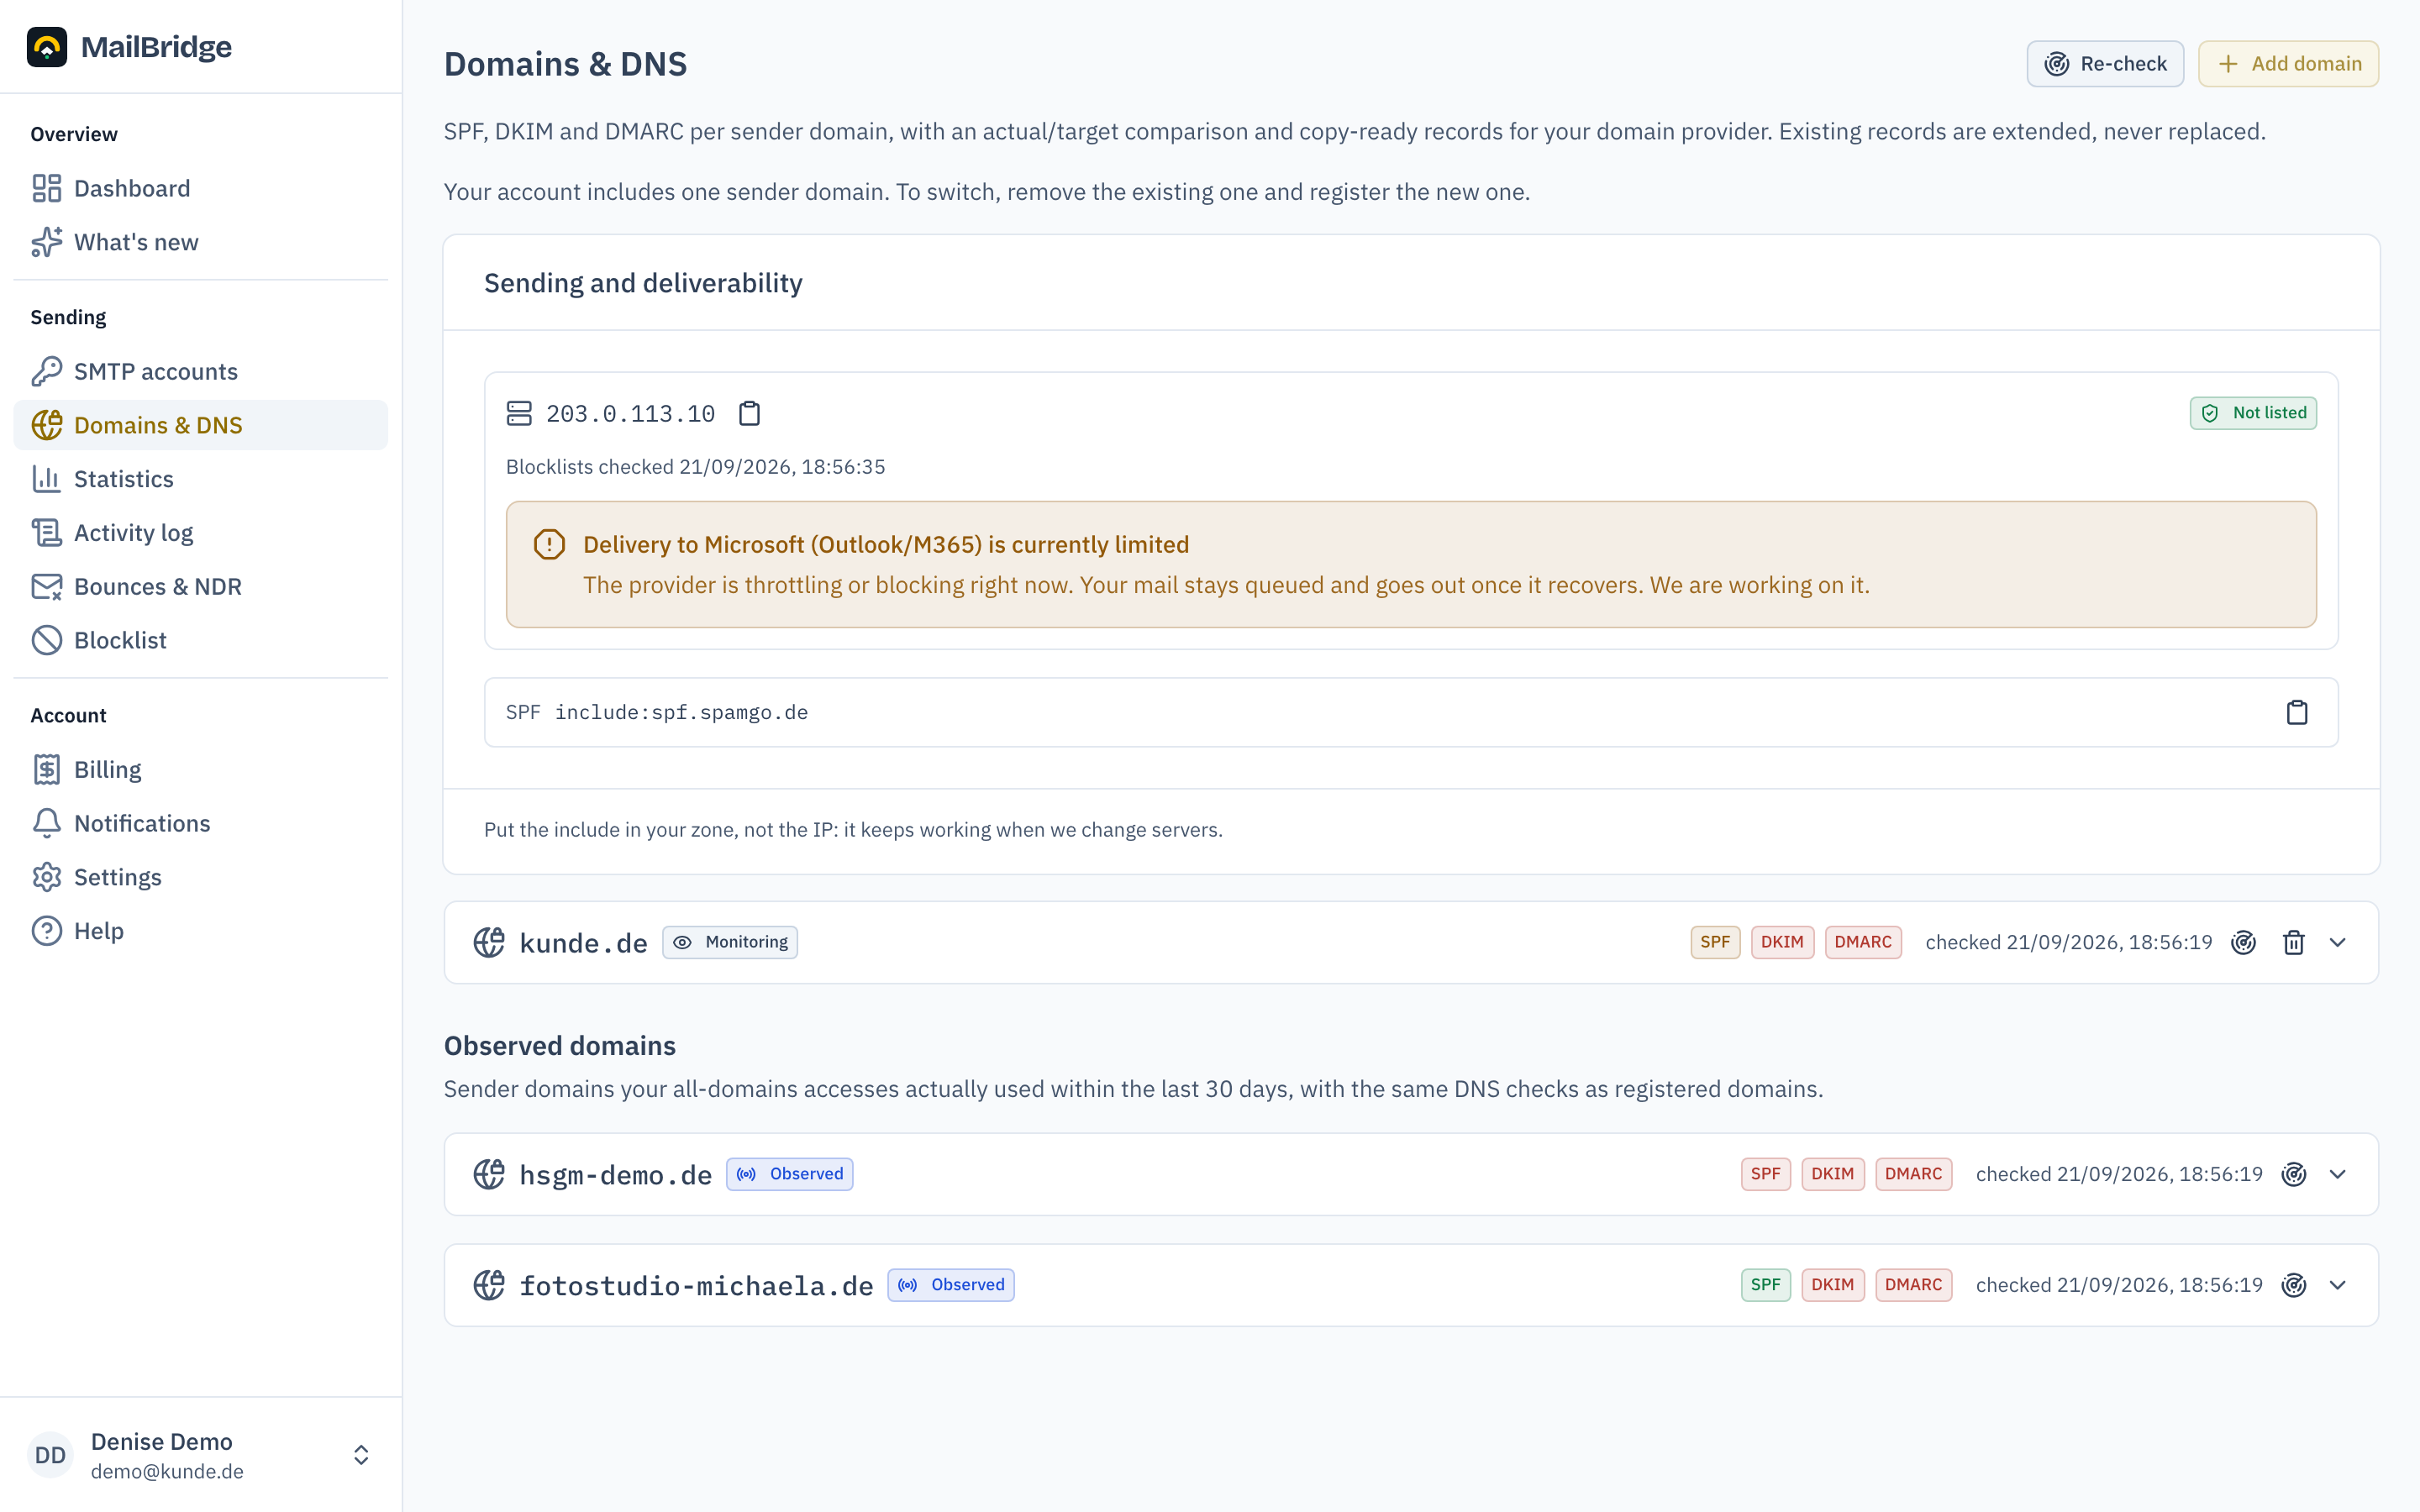
If the domain matches the domain of your registration address, it is verified immediately and you can continue with the DNS records.
Step 2: Verify ownership
For any other domain you prove ownership once. Until then the domain stays locked on the server.
- The domain card shows a TXT record of the form
mailbridge-verify=…to copy. - Create this record in your domain's DNS, at your domain provider, where you manage your other DNS records.
- Then click Check now.
DNS changes sometimes take minutes to hours. If the record is not found yet, wait briefly and check again. After successful verification you can delete the TXT record.
Step 3: Set up DNS records
To keep your mails out of the spam folder, receivers expect three DNS records: SPF (allows our servers to send for your domain), DKIM (cryptographically signs each mail) and DMARC (tells receivers how to treat forgeries).
You don't have to work out the values yourself: the domain card under Domains & DNS shows the current state (found) and the expected value for each record, with copy buttons for host, type and value.
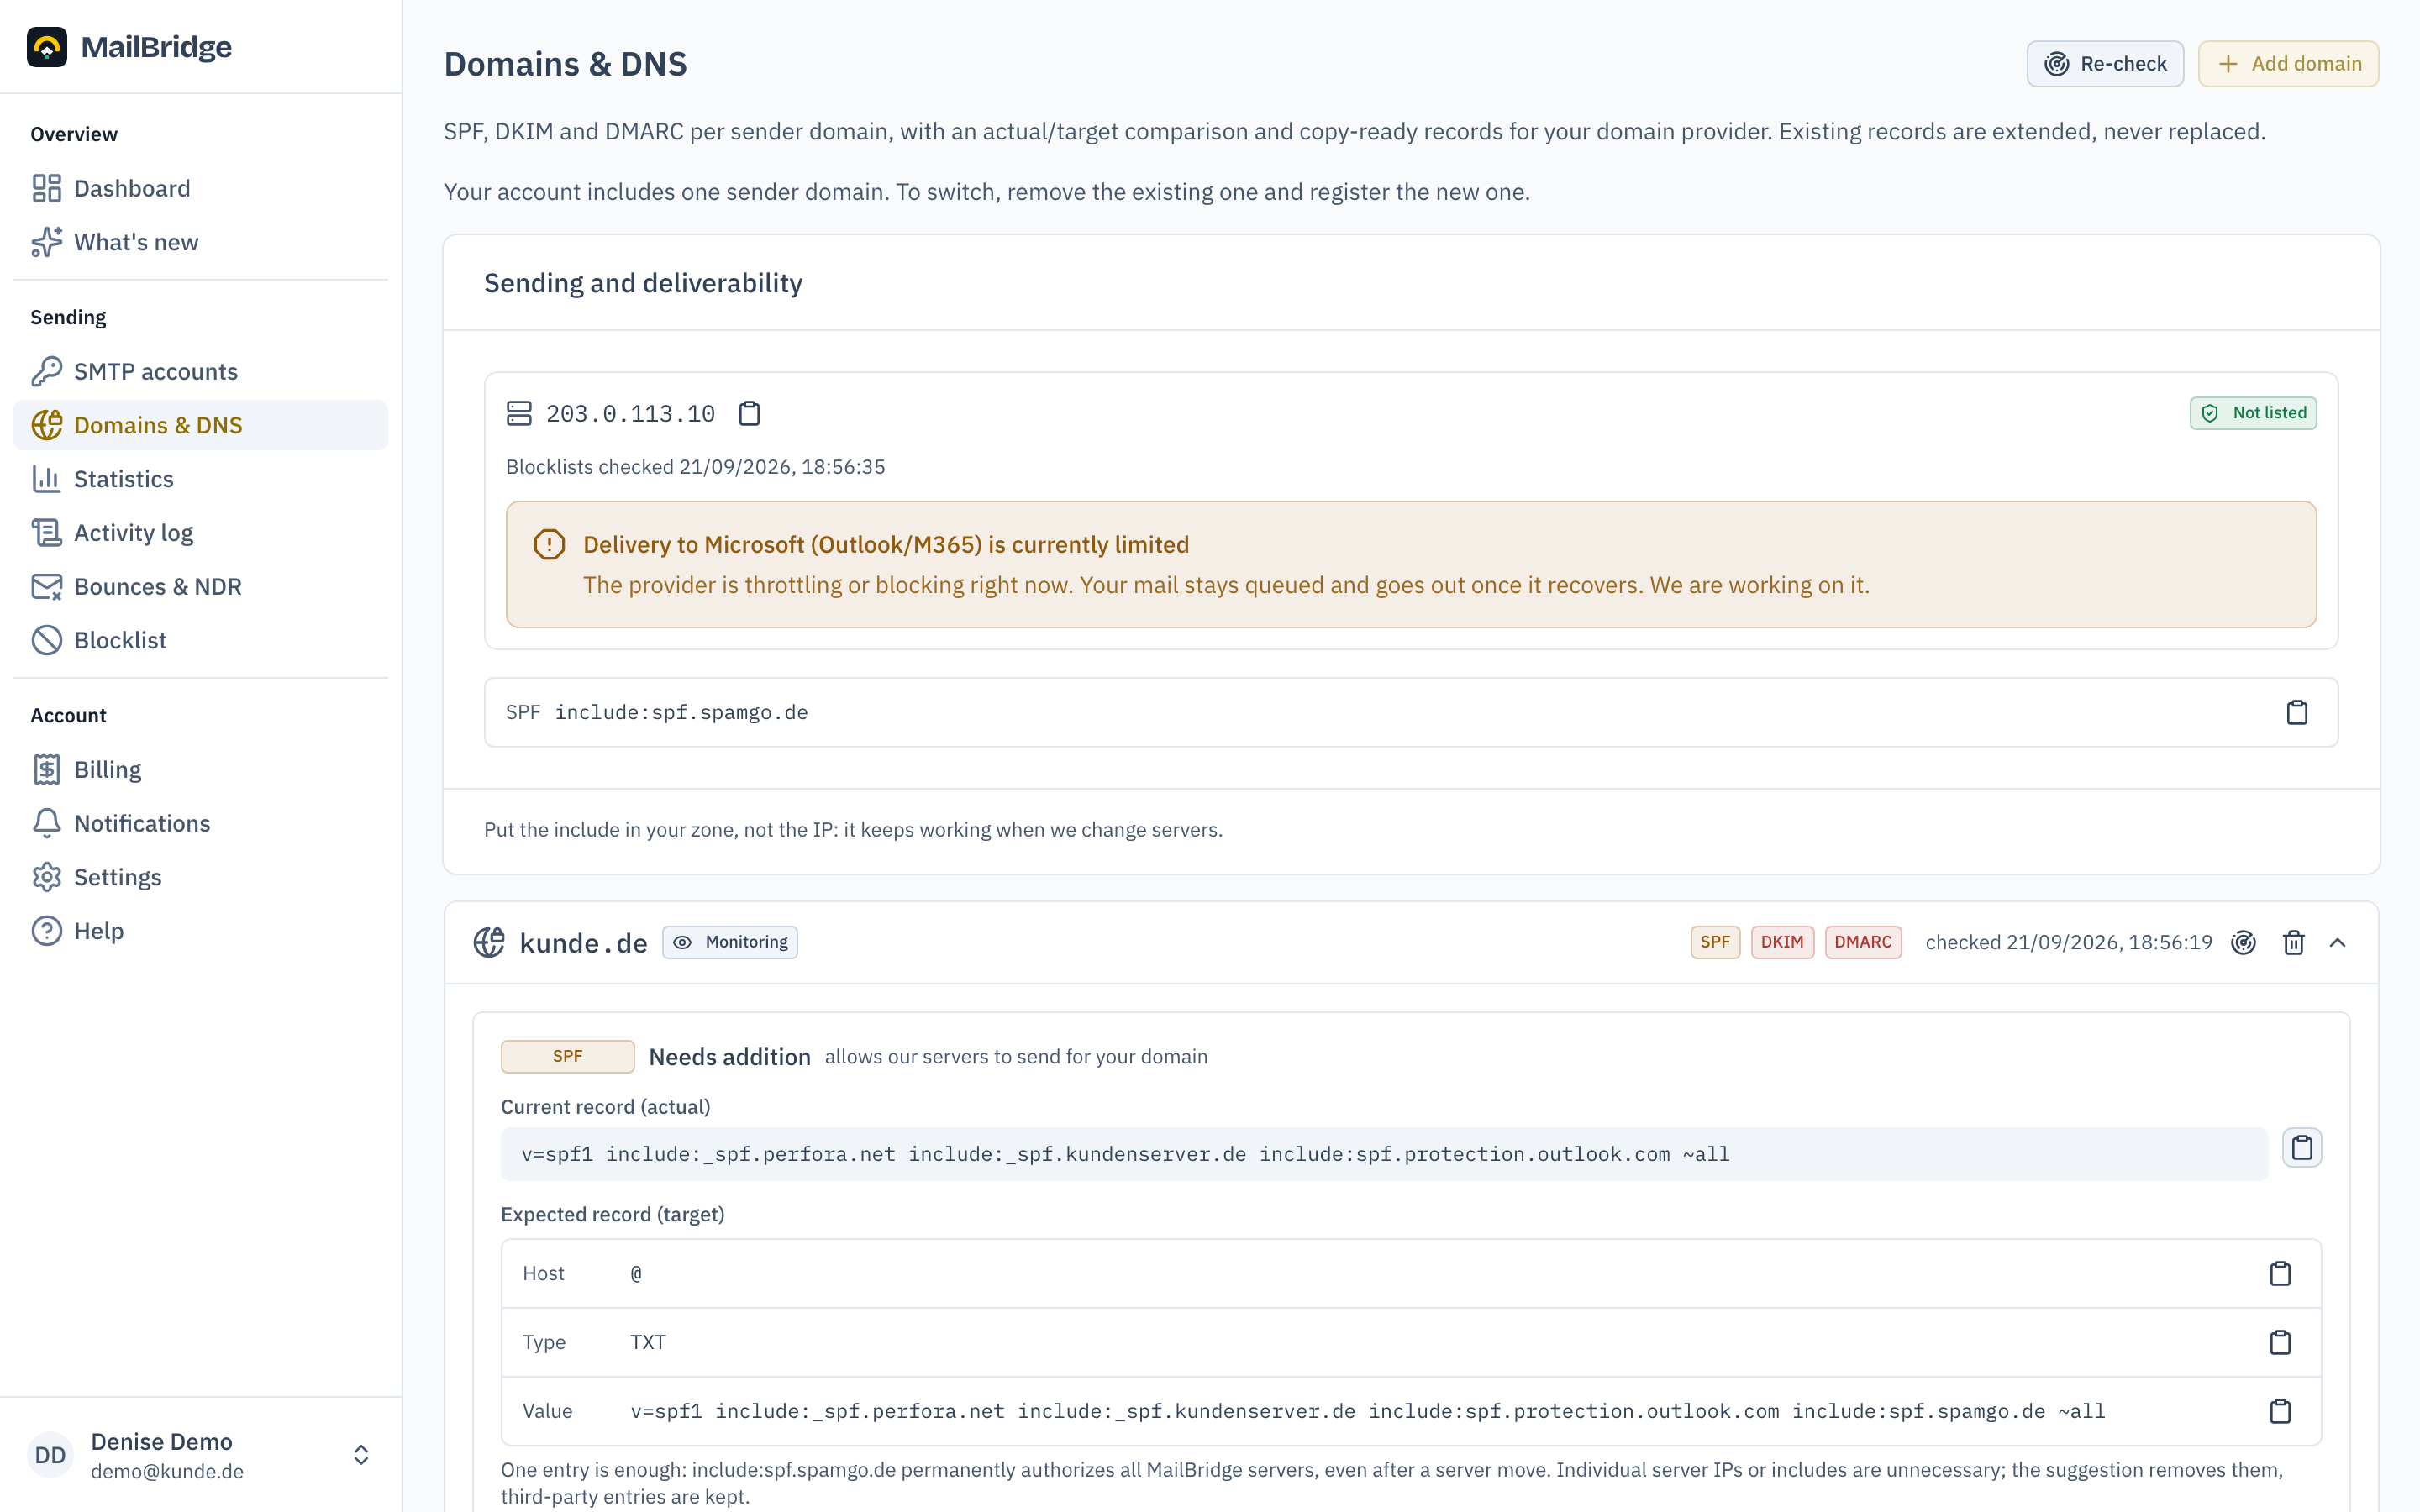
- Open the domain details and copy the suggested records to your domain provider. Existing records are amended, not replaced. The SPF suggestion already includes your current entries.
- Click Re-check after saving them.
- All three records show "Configured", done.
DNS changes can take up to 24 hours. MailBridge keeps checking daily and reports on the dashboard if a record breaks later.
Step 4: Create an SMTP account
An SMTP account is a username/password pair a device or application uses to submit mail. Create one per purpose (scanner, ERP, WordPress, newsletter tool). Then you can block or replace a single account without touching the others.
- Open SMTP accounts and click Add access.
- Pick a name (e.g. "Scanner reception") and choose the sender domain.
- After creation the credentials are shown exactly once.
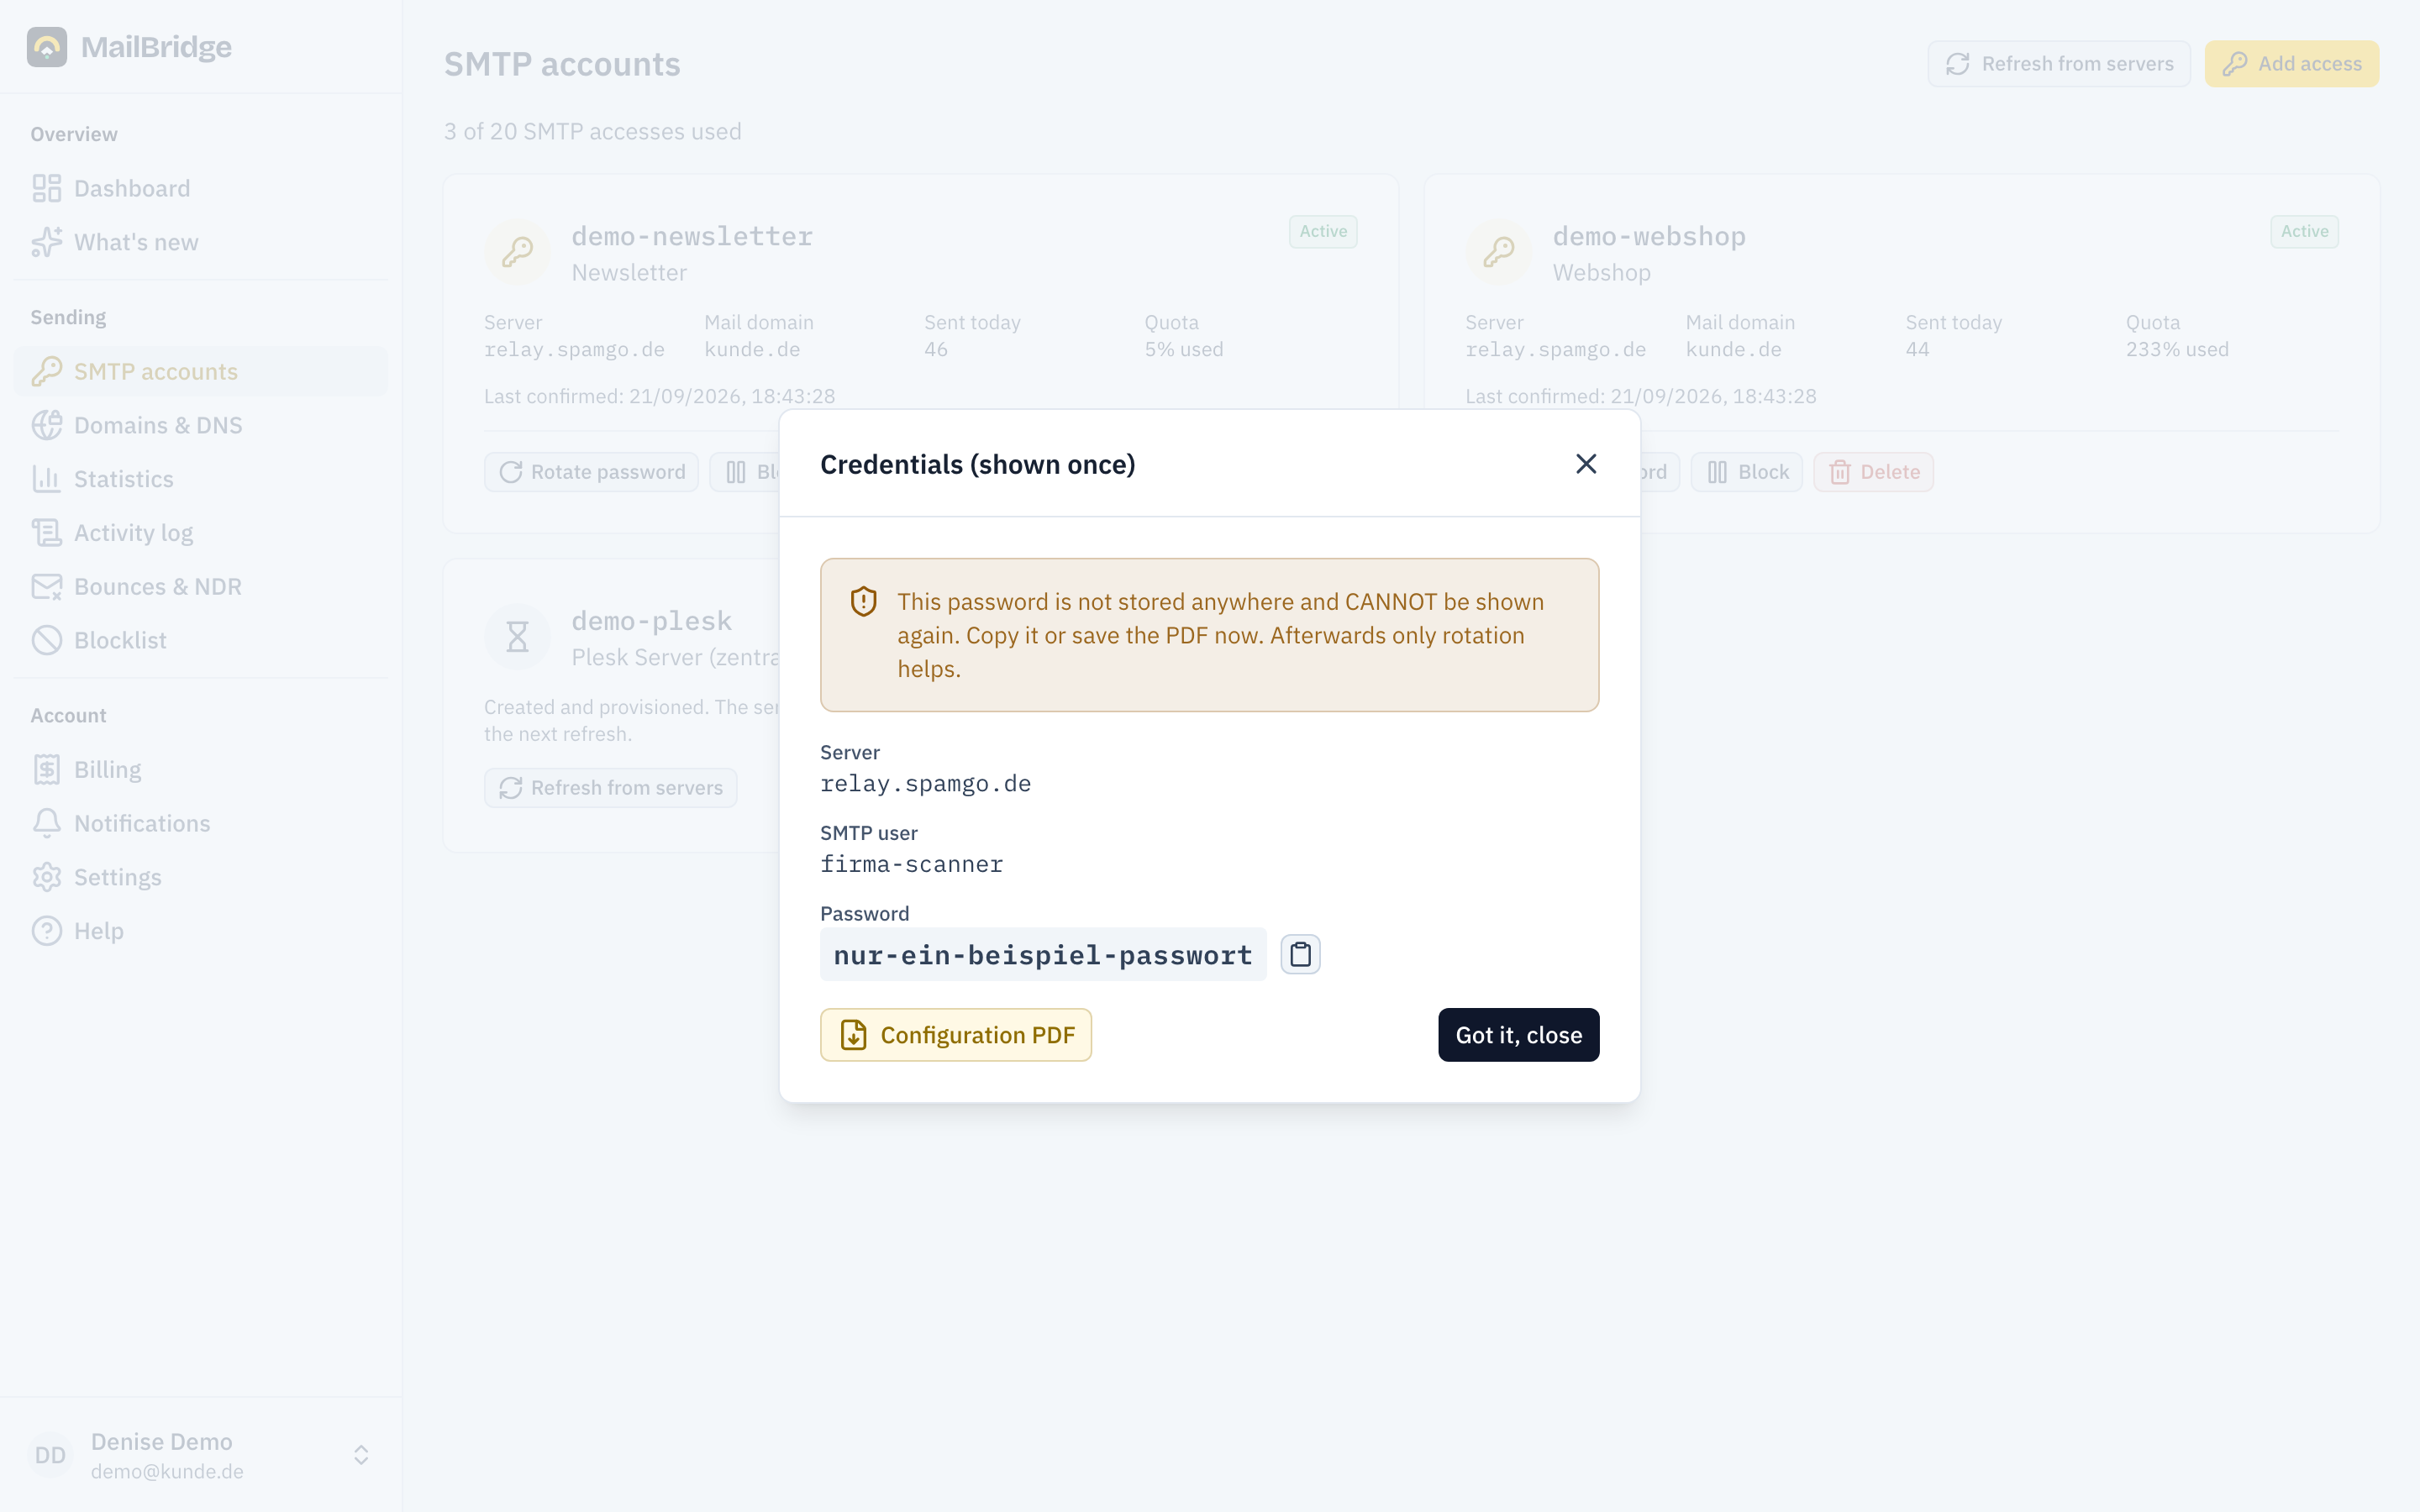
The password is not stored and cannot be shown again. Download the configuration sheet as PDF or copy the data right away. If the password is lost, simply generate a new one on the accounts page.
Step 5: Configure your mail client or application
Enter the credentials where the mails originate. The connection details are also on the PDF configuration sheet:
| Setting | Value |
|---|---|
| SMTP server | on your configuration sheet (e.g. relay.spamgo.de) |
| Port | 587 with STARTTLS (alternatively 25 with STARTTLS) |
| Authentication | username + password (AUTH PLAIN / LOGIN) |
| Sender address | an address of your verified domain |
Important: the sender address must belong to the configured domain. The server rejects mails with foreign sender domains.
Step 6: Send and check your first mail
Send yourself a test mail. The activity log shows every submission with its status (delivered, deferred, rejected), usually within a few minutes.
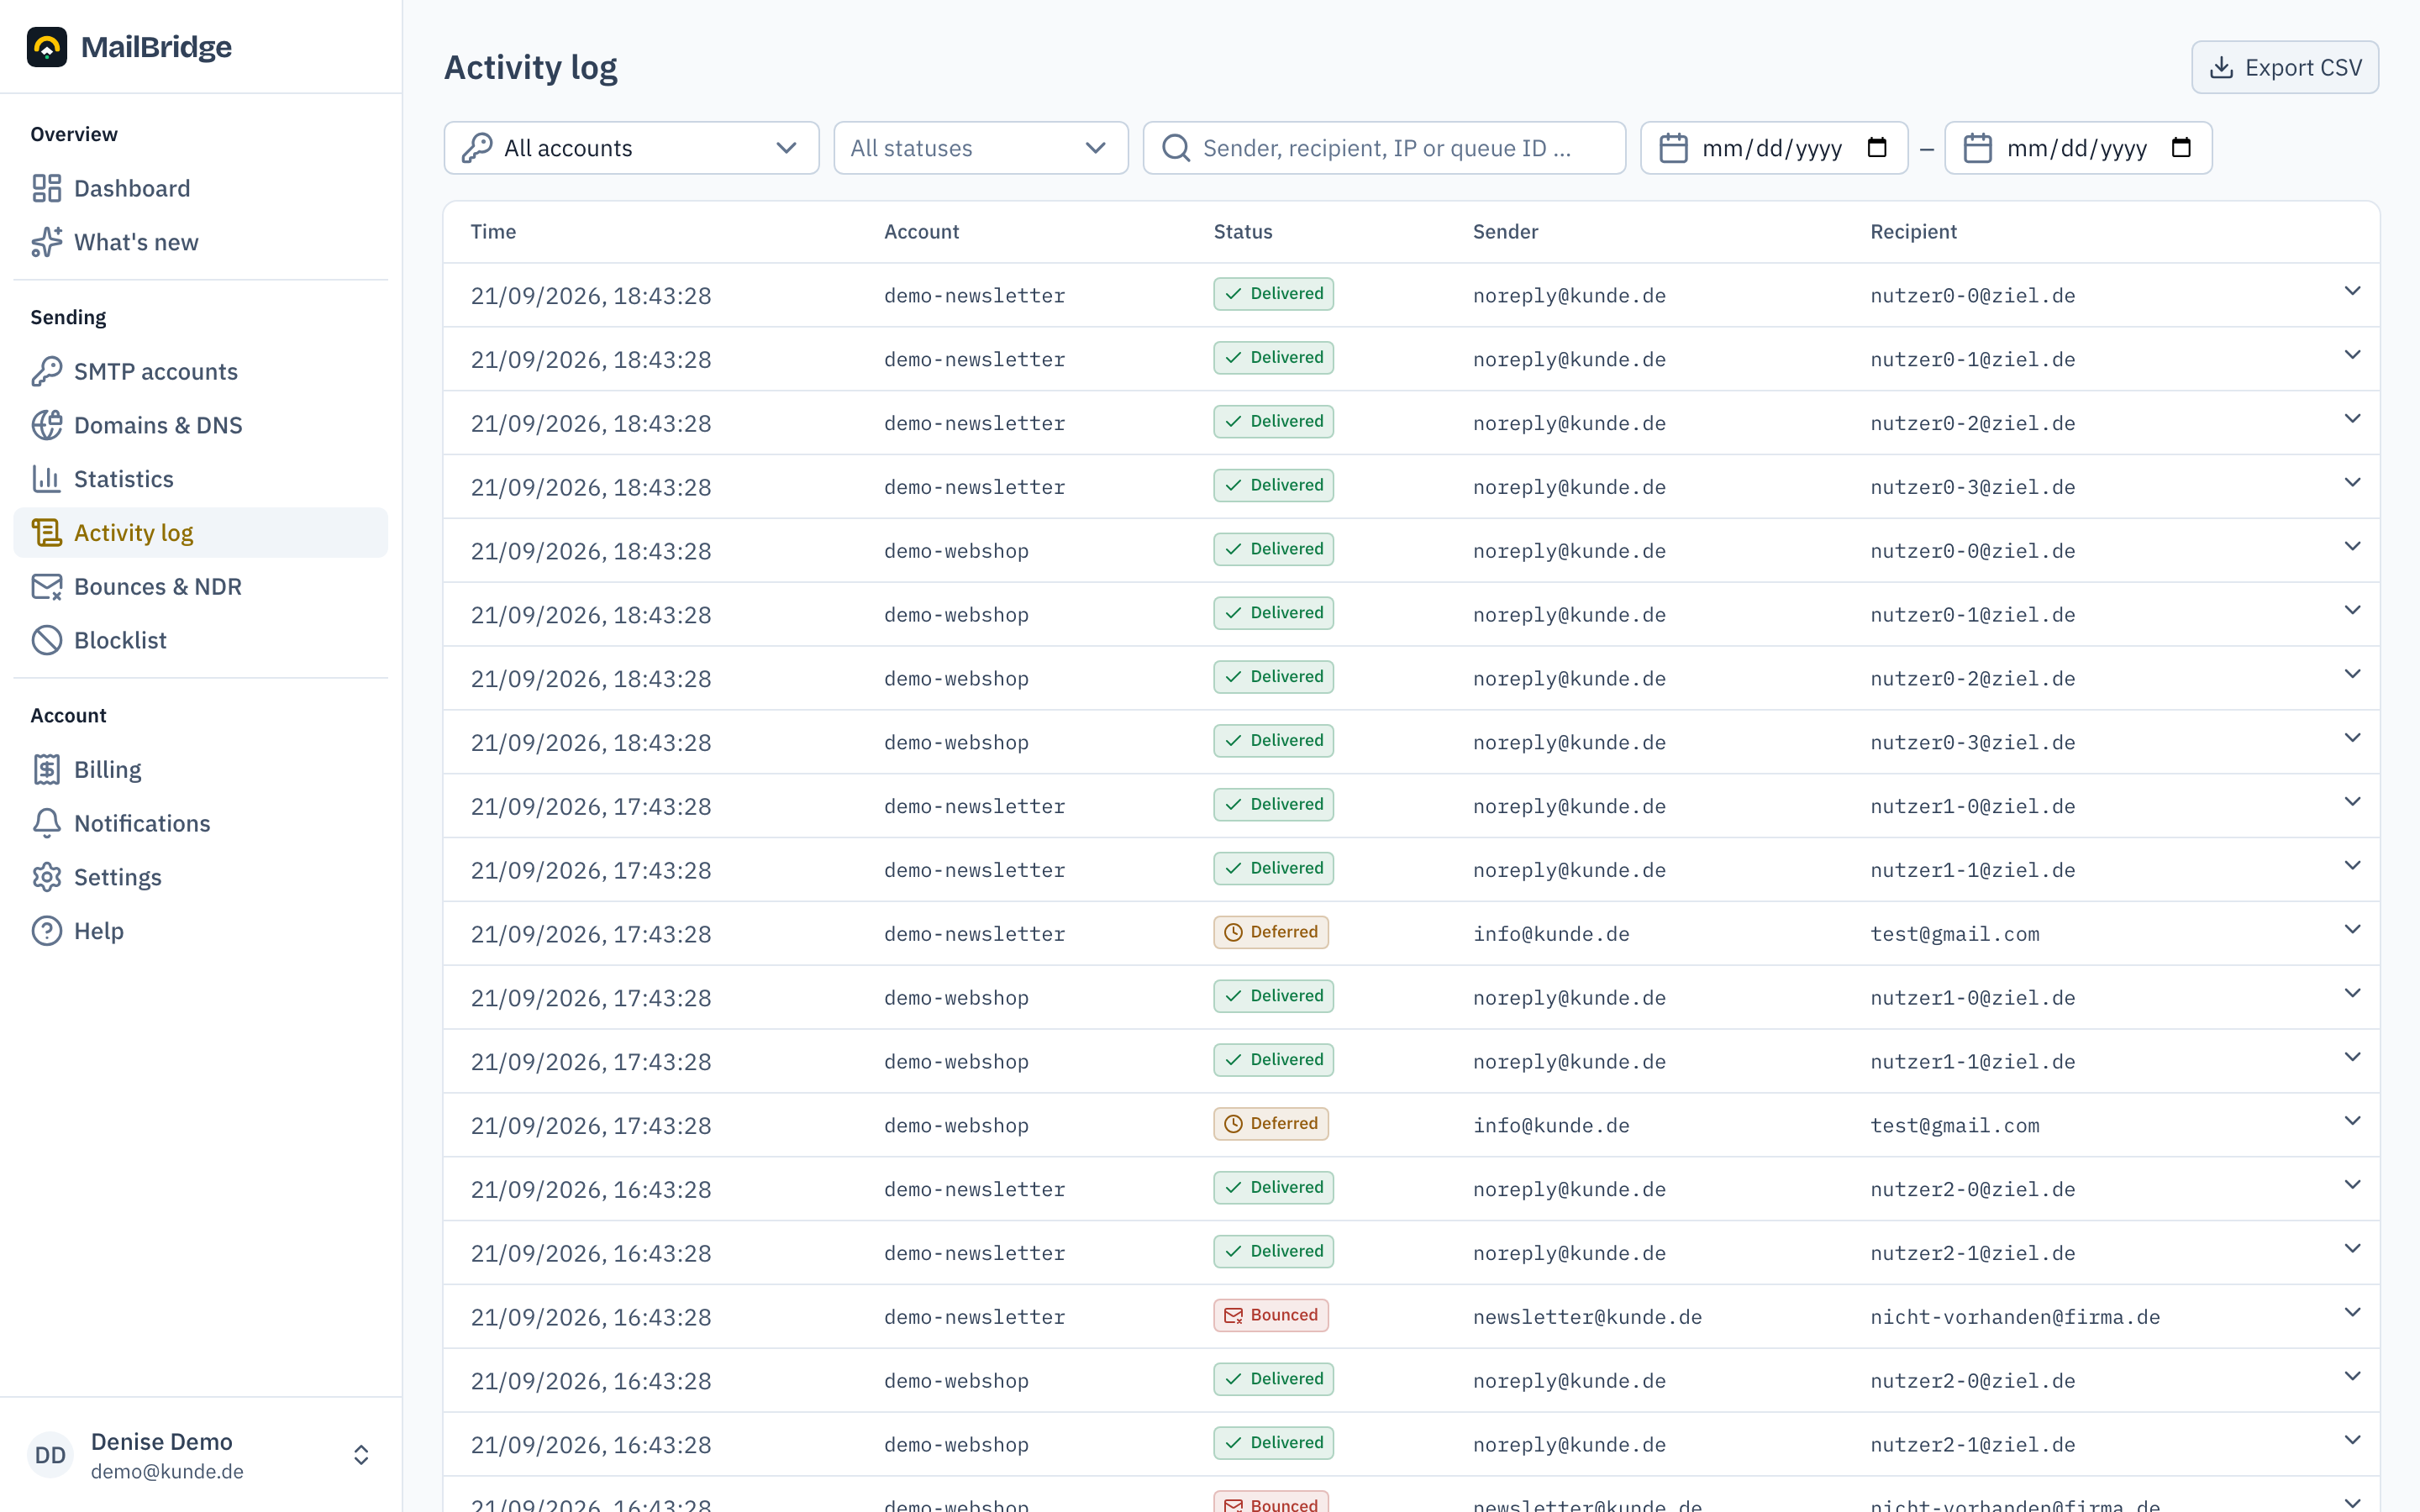
If the test mail lands in the spam folder, the DNS records are usually incomplete or not yet propagated. If it is rejected, Bounces & NDR explains the reason in plain language.
That completes the setup. What each portal page can do beyond this is covered in the feature reference.
You will find this feature in the customer portal: my.mailbridge.email, included in every plan.
No account yet? Try it free for 14 days, payment details are only needed afterwards.
Diese Seite auf Deutsch: deutsche Fassung. The rest of this website is in German.